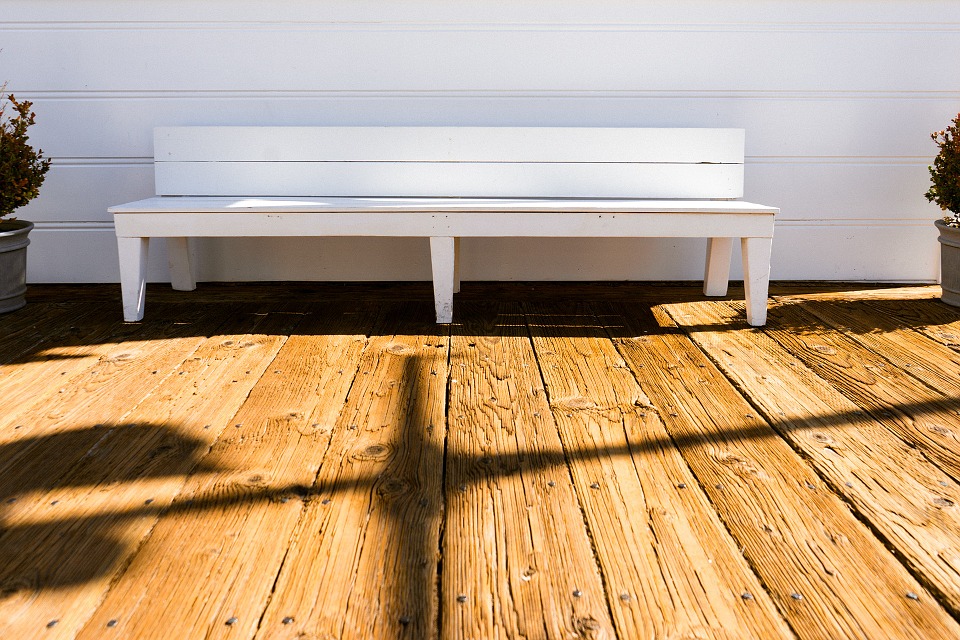
You spend all summer out on your deck, but your deck spends all year out there. Through the rain, snow, and beating sun, your deck is taking on the elements and wear and tear is inevitable. The good news is that you don’t need to spend tons of money hiring a professional or buying new equipment. It’s relatively straightforward to refinish the deck yourself if you know what you’re doing and are committed to making your deck look like new.
Supplies you’ll need
Before you begin your project, here are the supplies you will need for the job, in the order that you’ll need them.
– Deck screws
– Square buff sander
– Pressure washer (you can rent this)
– Wood cleaner
– Wood brightener
– Deck brush
– Wood stain
– Paintbrush and tray
You can get all these items relatively cheap from Home Depot and use Home Depot Coupons to get even more savings.
Step 1 – Replace broken boards and tighten up screws
First, you’ll want to access the current state of your deck and see if any boards are broken or rotten. Often nails and screws will pop up over time, and you’ll need to hammer or screw them back in. Secure any loose boards and replace any boards that are past their life. Make sure replacement boards are pressure treated.
Step 2 – Sand the deck
To create an even and refreshed surface to apply your stain, you will want to sand down your deck. Go over it twice, once with the 36 grit, and a second time with the 60-grit paper. It will take off excess grime and dirt build-up and leave a smooth surface.
Step 3 – Use the pressure washer
A pressure washer will help wash away any extra particles left behind by the sander, dirt, and flakes of old paint or finish. You may need to use a stripper if there is anything leftover that the pressure washer can’t remove. Make sure you allow your deck to dry completely before moving on to the next step.
Step 4 – Use the cleaner and brightener
You must have a perfectly smooth and clean surface when you apply your stain, which is why you’ll need to go in with a deck cleaner and brightener. Use your deck brush to scrub away any excess particles using the cleaner. It’s quite time consuming, but it will be worth it. Once you’ve washed the cleaner off, repeat the same process with the brightener. The brightener is what will make your deck look like it’s brand new again. Once the brightener is applied, you can rinse it off and allow your deck to dry.
Step 5 – Apply your stain
Finally, the last step is applying your stain. You’ll need to make sure your deck is completely dry, so it soaks up the stain properly. Do a spot test by pouring a bit of water onto the surface of the boards. If it absorbs within 10 seconds, then you can apply the stain. You can use whatever you’d like to apply the stain, either a brush, rag, paint pad, or a roller. Apply the stain thoroughly and make sure to get into all the crevices of the wood.
